
How To Compost at Home Step by Step
Contrary to popular beliefs, composting isn’t actually that complicated, time-consuming, or smelly, when done right. Composting is a simple weekly task that can reduce your general waste, prevent that awful smell in your indoor bins and help your plants and garden thrive.
If you’ve been thinking about composting at home but don’t know where to start, this guide can help you there. Whether you’re looking to compost in a tight space or big, the following steps will help you create the right, easy to maintain set-up.
1. Pick the Right Spot & Type
The first step to creating the ideal composting bin set-up at home is to find the right spot and type. These days, compost bins come in various sizes and designs to suit all kinds of spaces, so whether you live in a small unit or big farm, you can compost at home.
Tumblr compost bins are fantastic for tight areas, but if you have a spare space in your backyard or lots to compost, you can use a make-shift box or set of bins.
The spot you place your compost bin should be flat, especially if you’re using a garden bed or box. So that it allows air to circulate and not fill with water.
2. What You Can Compost at Home
Before you can begin setting up your compost, it’s crucial you understand what you can and can’t compost. Not all general food waste can go into your compost. The universal rule is ONLY food scraps that grow or anything you can put in your curbside, green bin.
The materials and products you can put into your compost bin include:
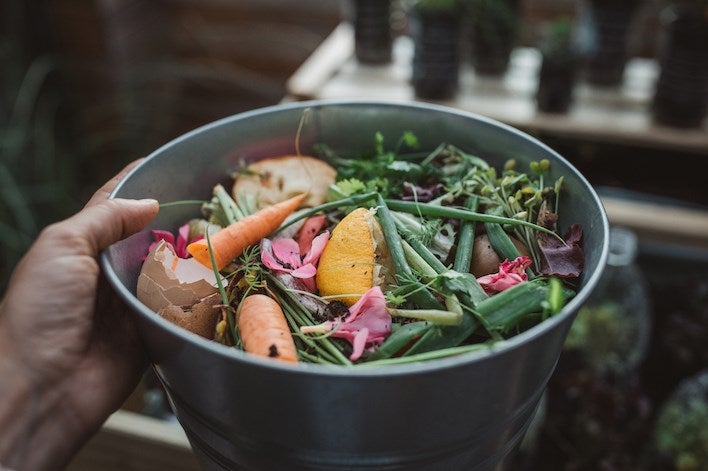
- – Fruit & Vegetable Scraps
- – Coffee grounds
- – Grass
- – Tea Leaves
- – Straw
- – Leaves
- – Twigs and small branches
- – Dead Flowers or Plants (pest free)
- – Nuts
- – Bread
- – Egg Shells
- – Shredded paper
- – Cardboard
You CAN’T COMPOST meats, bones, dairy products, cooked foods, pet droppings, glossy paper or seeded weeds.
Tip: You might find it handy to print out a list of the materials you can compost and stick it to your compost bin, for easy reference.
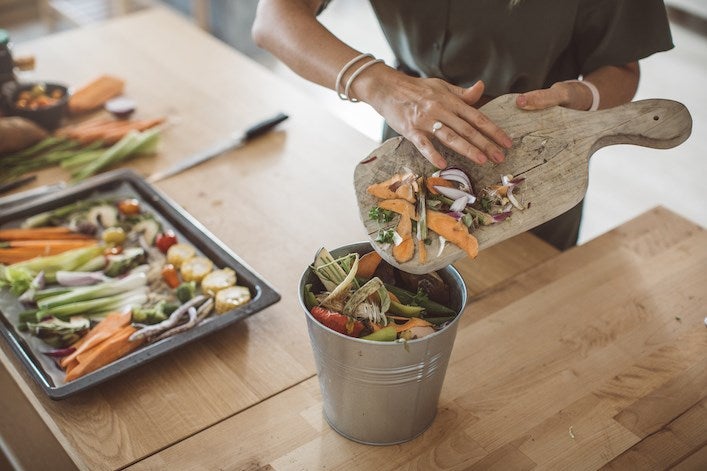
3. Gather Your Scraps & Materials
A good compost bin combines a good variety of products and materials. Leaves and branches will help draw out moisture, and food scraps will help everything compost faster.
Tip: To store all your food scraps till you’re ready to put them in the compost, you might want to invest in a small, air-tight compost bin for the counter.
4. Create Layers
One of the most common terms you’ll hear when composting is ‘add greens with browns’. Put simply; these are the different ingredients you need to add to your compost to create good soil.
Green refers to your food scraps and wet materials (Fruit, veg, eggshells, fresh grass, flowers, coffee ground). In contrast, brown refers to dry and carbon-rich materials. (branches, dried leaves and grass, sawdust, hay, newspaper, cardboard).
At the bottom of your compost, add a few inches of brown materials – this is a good spot for the bigger twigs, mulch, and cardboard, which will create a good airflow and base drainage system for excess water).
Onto your brown material base, add a layer of green and repeat until your compost is full or you run out of materials.
Tip: The ratio for brown to green materials should be: three parts brown and one part green – this will prevent it from becoming too soggy or smelly.
5. Water, Water, Water
Your bed of materials should be damp like a sponge, so the next step is to water it regularly to maintain this consistency. When your compost feels warm in the middle, water it with a garden hose (usually once a week).
Tip: Keep the compost moist, not wet.
6. Add Oxygen
Like us; a compost bin requires oxygen which helps it decompose properly and prevent smells. So, make sure you turn the contains of the compost once a week with a garden tool (fork or shovel, for example) when the centre is warm.
Tip: if you can, it’s great to cover your compost with a lid to increase the heat inside and fasten the process.
7. Keep Adding Nurturance
When you first start composting, it can take a while to degrade and become rich soil, so over these months, continue to add scraps and green waste. But remember to keep the ratio right as you go. If the compost becomes too dry, add more greenery and vice versa.
8. Use Your Nutritious Soil
Once the materials have broken down, decreased in size, and look like soil, you can add it to your garden beds or pot plants.
An excellent way to tell when it’s ready is by its smell. Good compost will smell like rich, sweetish soil, whereas bad compost will smell like a garbage bin.
The time your compost will take to break down depends on the season you start it, and you’re set up. If you start your compost in summer, it could be ready in a few months; however, it can take longer in Winter. If your compost bin has a lid or enclosed space, this can also quicken the process.